Facebook Ads (now known as Meta Ads) is one of the most popular and accessible paid traffic platforms in the world. Whether you’re starting your journey as a traffic manager or looking to promote your business online, this guide will walk you through how to launch effective campaigns on Facebook and Instagram, even if you’re a complete beginner.
Why Use Facebook Ads?
Meta Ads allows you to advertise across Facebook, Instagram, Messenger, and the Audience Network. It’s a platform that offers highly targeted advertising, is accessible with small budgets, and works well for almost any niche—infoproducts, services, e-commerce, and local businesses.
Step 1: Create a Business Manager Account
Visit business.facebook.com and create a free account. This gives you access to Ads Manager, Page Manager, Pixels, catalogs, and other assets.
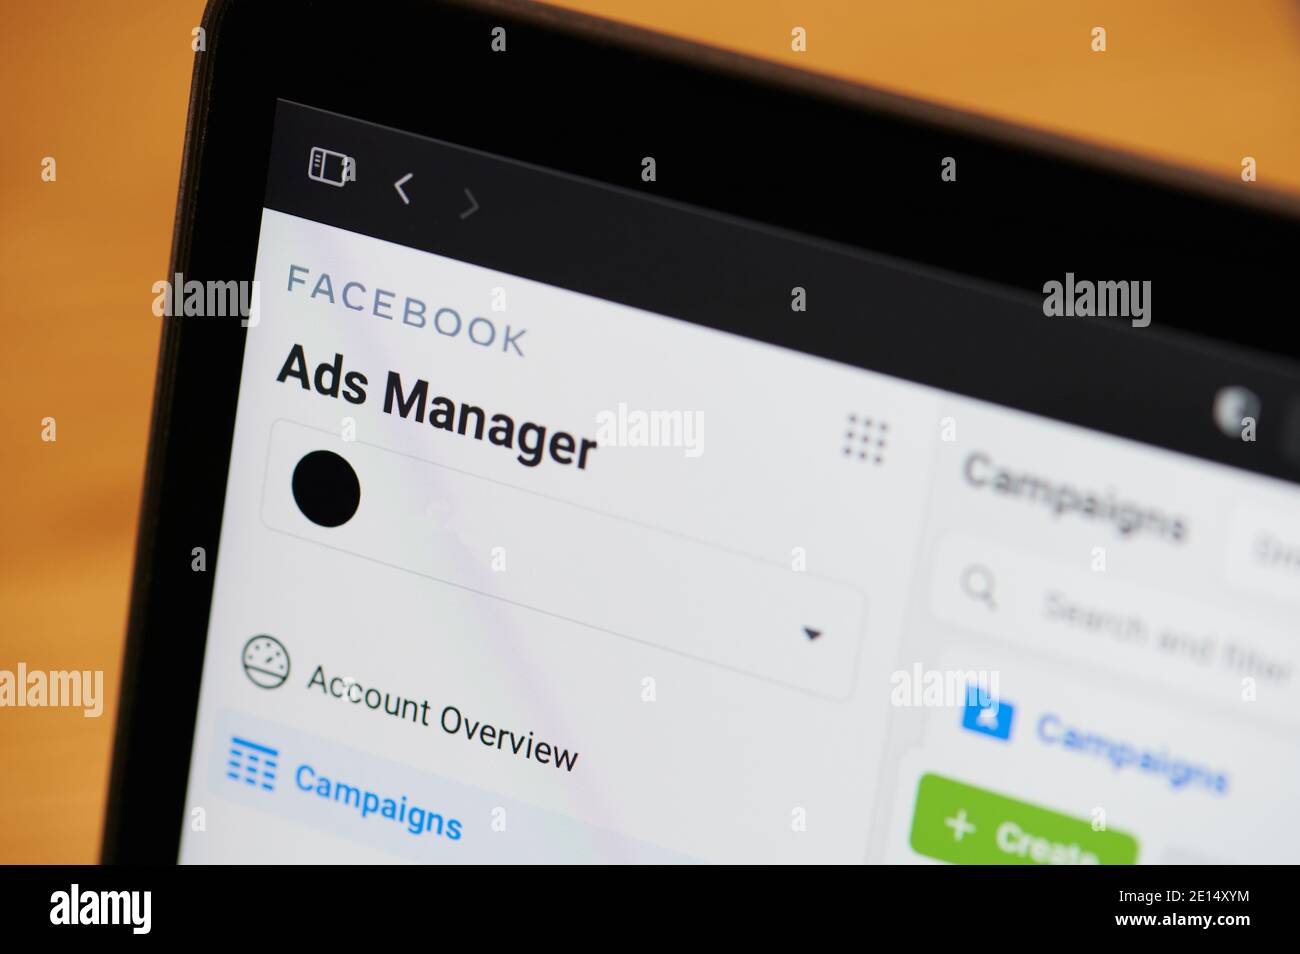
Tip: Don’t use the “Boost Post” button — always run ads through the Ads Manager for full control.
Step 2: Install the Facebook Pixel
The Pixel is a piece of code you add to your website to track user actions like visits, purchases, or sign-ups.
To install it, go to Events Manager, create a new pixel, and install it manually or via Google Tag Manager. With the Pixel, you can track conversions, run retargeting campaigns, and optimize for specific actions on your site.
Step 3: Create Your First Campaign
In Ads Manager, click “Create” to start. Facebook Ads are structured in three levels: Campaign (set the objective), Ad Set (define audience, budget, and placements), and Ad (build the creative).
Step 4: Choose the Right Objective
Common goals for beginners include traffic (send users to a link), engagement (likes, shares, comments), conversions (drive sales or leads—requires Pixel), and video views (increase awareness with videos).
Step 5: Define Your Target Audience
You can target by age, gender, location, interests (e.g., digital marketing, nutrition, pets), behaviors (frequent buyers, device usage), or custom audiences (based on site visits or interactions). Start with broad audiences and let the algorithm optimize.
Step 6: Choose Placements
You can use automatic or manual ad placements. Main options include Facebook Feed, Instagram Stories, Instagram Reels, Messenger, and Audience Network. Use automatic placements at the beginning for better cost-efficiency.
Step 7: Create the Ad
You can use static images, short videos, carousels, or collections.
Copywriting tips: Start with a strong hook or pain point. Highlight the main benefit. Use a clear CTA like “Learn more,” “Buy now,” or “Download free.”
Example: “Wasting money on ads that don’t convert? Learn how to create campaigns that actually sell. 👉 Click to discover our free guide!”
Step 8: Set Your Budget
You can choose a daily budget (great for ongoing testing) or a lifetime budget (spread across specific dates). Start small ($5–$10/day), monitor performance, and scale what works.
Step 9: Track Your Results
Inside Ads Manager, monitor your metrics: CTR (Click-Through Rate), CPM (Cost per 1,000 Impressions), CPC (Cost per Click), and conversions (if Pixel is active).
Make improvements regularly. Swap out low-performing creatives, test new audiences, and scale what delivers results.
Step 10: Keep Optimizing
Success on Facebook Ads depends on constant testing and improvement. A/B test different headlines, visuals, CTAs, and audiences. With time, you’ll discover the best combinations for your niche.
Final Thoughts: Stay Consistent and Keep Learning
You won’t master Facebook Ads overnight, but by learning the fundamentals, testing small campaigns, and improving step by step, you’ll become a confident and effective traffic manager.